
Post Date: December 22, 2024
Last Updated: November 02, 2026
Introduction
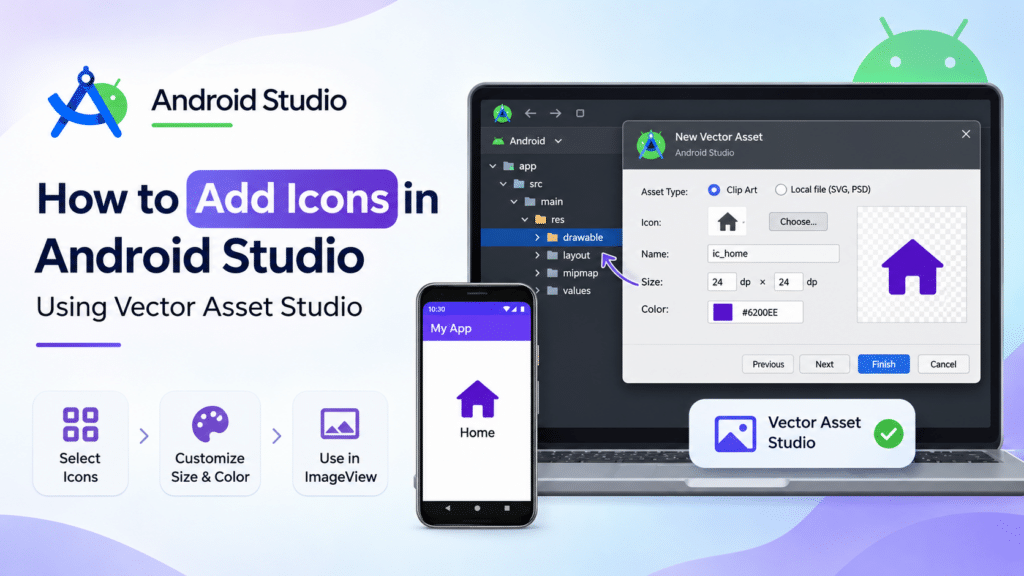
How to add icons in the Android Studio project is a common question when developing an attractive and user-friendly Android application. Android Studio provides Vector Asset Studio, which makes it easy to add Material icons and import vector assets into your project.
In this tutorial, we will explain how to add icons in Android Studio using Vector Asset Studio. We will cover selecting icons, customizing their size and color, storing them in the drawable folder, and displaying them using an ImageView. For more details, refer to the official Android Vector Asset Studio documentation.
Prerequisites
Before adding icons in Android Studio, make sure you have:
- Android Studio installed.
- An Android project created in Android Studio.
- Basic knowledge of Android project structure.
- Access to the project’s
resanddrawablefolders.
Implementation: How to Add Icons in Android Studio
When learning how to add icons in the Android Studio environment, Vector Asset Studio is one of the easiest options. It provides built-in Material icons and supports importing vector assets for your application.
Step 1: Open Vector Asset
Open Android Studio and navigate to the res folder. Right-click the folder and select New → Vector Asset.

This opens the vector asset configuration window.
Step 2: Select Clip Art
After clicking Vector Asset, you will see the Clip Art option.

Step 3: Choose an Icon
Click the Clip Art button to select an icon.
Android Studio provides built-in icons, making it easy to select and use commonly required icons in your application.

Step 4: Define the Icon Name and Location
After selecting the icon, define its name and choose where to store it.
For convenience, you can store the icon in the drawable folder, making it easy to reference from your Android code.

Step 5: Adjust the Icon
You can adjust the size and color of the icon according to your application requirements.

Step 6: Finish Adding the Icon
After clicking the Finish button, the icon will be added to the folder you specified.
Here, the icon is added to the drawable folder.
Step 7: Use the Icon in the Code
After adding the icon, you can reference it from your Android code and use it with an ImageView or ImageButton.
For example:
<ImageView
    android:layout_width="wrap_content"
    android:layout_height="wrap_content"
    android:src="@drawable/your_icon_name" />
Replace your_icon_name with the name of the icon you created.

Conclusion
By following these steps, you now know how to add icons in the Android Studio project and customize them for your application’s user interface.
Adding icons in Android Studio is a simple and effective way to enhance the user interface of your app. By using tools like Vector Asset, you can easily add built-in or custom icons and store them in the drawable folder.
Once added, you can adjust the size and color as needed and use the icons in your layouts with ImageView or ImageButton. This process helps create visually appealing, intuitive, and consistent designs in Android applications.
FAQs
1. Where are icons stored in Android Studio?
Icons created using the Vector Asset tool can be stored in the project’s res/drawable folder.
2. Can I change the color of a vector icon?
Yes. The Vector Asset tool allows you to adjust the icon color before adding it to the project.
3. Can I use an icon with ImageView?
Yes. You can reference a drawable icon using the android:src attribute of aImageView.
4. Can I use custom icons in Android Studio?
Yes, Android Studio supports adding custom image and vector assets to an Android project.
5. Does the Vector Asset option look the same in every Android Studio version?
The available options and interface may vary between Android Studio versions. However, the Vector Asset functionality remains available for adding vector icons.
Related Articles
How to Create an Android Project Using Android Studio
Learn how to create a new Android project using Android Studio and get started with Android application development.
How to Create an Android Project Using Android Studio
Building Your First Android App in Java with Android Studio
A beginner-friendly guide to building your first Android application using Java and Android Studio.
Building Your First Android App in Java with Android Studio
Build Powerful Mobile Applications with Our Experts
Looking for the right technology solution for your business? Our team of experts can help you with Mobile App Development Services, cloud, DevOps, design, and a wide range of other technology needs.