
Post Date: April 14, 2020
Last Updated: November 07, 2026
Introduction
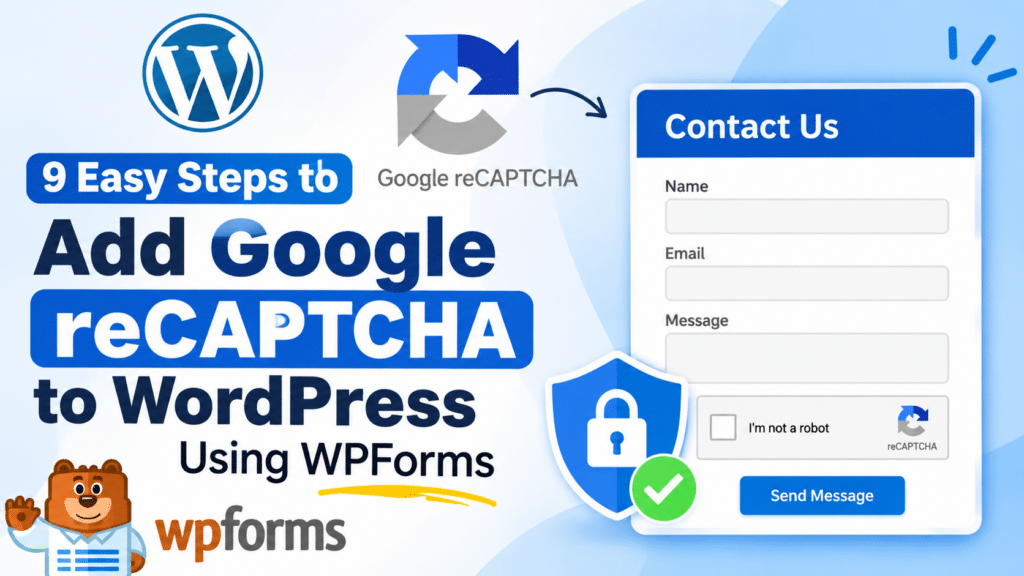
Add Google reCAPTCHA to WordPress to protect your website’s contact forms from spam submissions and automated bot activities. Contact forms are essential for allowing visitors to submit enquiries, feedback, and other requests. However, they can sometimes receive unwanted submissions from automated bots, affecting website functionality and increasing unnecessary emails.
Google reCAPTCHA is a free anti-spam security service that helps protect websites from automated abuse by verifying whether a visitor is human. In this tutorial, we will explain the complete WordPress Google reCAPTCHA setup using the WPForms plugin.
You will learn how to configure WPForms Google reCAPTCHA, generate the required Site Key and Secret Key, and enable Google reCAPTCHA for contact forms to improve your WordPress website’s security.
Prerequisites
Before getting started, make sure you have the following:
- A WordPress website with admin access.
- A contact form created using the WPForms plugin.
- A Google account (Gmail) to register your website with Google reCAPTCHA.
- Access to the Google reCAPTCHA Admin Console to generate the Site Key and Secret Key.
- Basic knowledge of navigating the WordPress dashboard.
Implementation
Step 1:
Login to your wordpress admin url (http://domain.com/wp-admin)
If you already have contact page for your site which might be through installation of any contact form plugin , then go to the settings of the plugin installed.
In this case, i have used WPforms Plugin installed in my wordpress site with which i have created a simple contact form.
Step 2:
In the left side, you will have the option “WPForms”. Place the cursor on top of it and choose the option “Settings” in WPForms.
Step 3:
In the Settings page opened, choose the column field “reCAPTCHA”.
In this reCAPTCHA settings you will find the detailed description of the reCAPTCHA types as below
reCAPTCHA
reCAPTCHA is a free anti-spam service from Google which helps to protect your website from spam and abuse while letting real people pass through with ease.
Google offers 3 versions of reCAPTCHA (all supported within WPForms):
v2 Checkbox reCAPTCHA: Prompts users to check a box to prove they're human.
v2 Invisible reCAPTCHA: Uses advanced technology to detect real users without requiring any input.
v3 reCAPTCHA: Uses a behind-the-scenes scoring system to detect abusive traffic, and lets you decide the minimum passing score. Recommended for advanced use only (or if using Google AMP).
Sites already using one type of reCAPTCHA will need to create new site keys before switching to a different option.
Read our walk through to learn more and for step-by-step directions.
Below this, you will find the field “Type” where you can choose any of the above reCAPTCHA methods.
Step 4:
Then you will find 2 fields
- Site key
- Secret Key
To get the keys, you need to setup reCAPTCHA in your Google account. To start this setup process, you’ll need to open Google’s reCAPTCHA landing page.
Once the page is opened, click on the Admin Console button on the top-right of the page.
Step 5:
Then you will have to register the site on which you are going to implement reCAPTCHA.
If you have never registered for reCAPTCHA before in your google account, you will be redirected directly to the reCAPTCHA setup form.
Else, you have to click on the Plus symbol on the Admin Console page opened for the setup form.
Step 6:
The form heading will be Register a new site.
- Label– Enter your domain name for which you are want to implement reCAPTCHA
- reCAPTCHA type– Choose your preferred reCAPTCHA type.
- Domains– Give the domain name to register.
- Owners– Your gmail id will be displayed by default. No need to make any changes unless needed.
- Accept the reCAPTCHA Terms of Service– Click on the checkbox
- Send alerts to owners– Make sure it is checked.
Then, click on the Submit button.
Step 7:
After submitting the form, your site will be registered and you will see a page with the keys for your website.
Copy the Site key and Secret Key.
Provide the keys in the WPForms reCAPTCHA settings fields(Site key and Secret key)
Step 8:
Next field in the WPForms reCAPTCHA settings is
Failure Message – The message will be displayed to users who fail the reCAPTCHA verification process.
No-Conflict Mode– When checked, other reCAPTCHA occurrences are forcefully removed, to prevent conflicts. Only check if your site is having compatibility issues or instructed to by support.
Then Click on “Save Settings” button at the bottom
Step 9:
To add reCAPTCHA to the existing contact form, click on the WPForms and click on your contact form.
In the Standard Fields section, click on the reCAPTCHA option.
To confirm that your reCAPTCHA is enabled, look for the badge in the upper right corner of your form builder.
If there is no badge in the form, then make sure that your reCAPTCHA keys are proper.
To test the reCAPTCHA, you can submit a new entry in the contact form and check.
Conclusion
Google reCAPTCHA provides an effective way to protect WordPress contact forms against spam submissions and automated bot activities. By integrating Google reCAPTCHA with the WPForms plugin, you can add an additional layer of security to your website while allowing genuine visitors to submit enquiries without unnecessary interruptions.
Following the steps outlined in this tutorial, you can easily configure reCAPTCHA, generate the required keys, and enable verification on your existing contact form.
Regularly testing your contact form after configuration will help ensure that reCAPTCHA is working correctly and that legitimate submissions are being received successfully.
FAQs
1. What is Google reCAPTCHA in WordPress?
Google reCAPTCHA is a free security service that helps protect WordPress websites from spam submissions, automated bots, and malicious activities by verifying whether a visitor is human.
2. Is Google reCAPTCHA free to use?
Yes, Google reCAPTCHA offers a free tier. You can register your website and generate the required Site Key and Secret Key through the Google reCAPTCHA Admin Console.
3. What are the Site Key and Secret Key in Google reCAPTCHA?
The Site Key is used to identify your website and integrate reCAPTCHA into the frontend. The Secret Key is used for server-side verification of reCAPTCHA responses. Both keys are required to configure reCAPTCHA in WPForms.
Related Articles
How to add Google ReCAPTCHA in PHP Codeigniter
How to Install reCAPTCHA in WordPress
Official Doucmentation
How-to-set-up-and-use-recaptcha-in-wpforms
Google reCAPTCHA Official Website
Need Help Securing Your WordPress Website?
Looking to protect your WordPress website from spam submissions and automated bot activities?
Pheonix Solutions provides WordPress hosting, website management, server administration, and website security solutions.
Our team can help you configure security features, integrate Google reCAPTCHA, troubleshoot WordPress issues, and improve your website’s overall security and performance.
Get in touch with our team to discuss your WordPress website security requirements.