
Post Date: October 16, 2019
Last Updated: November 04, 2026
Introduction
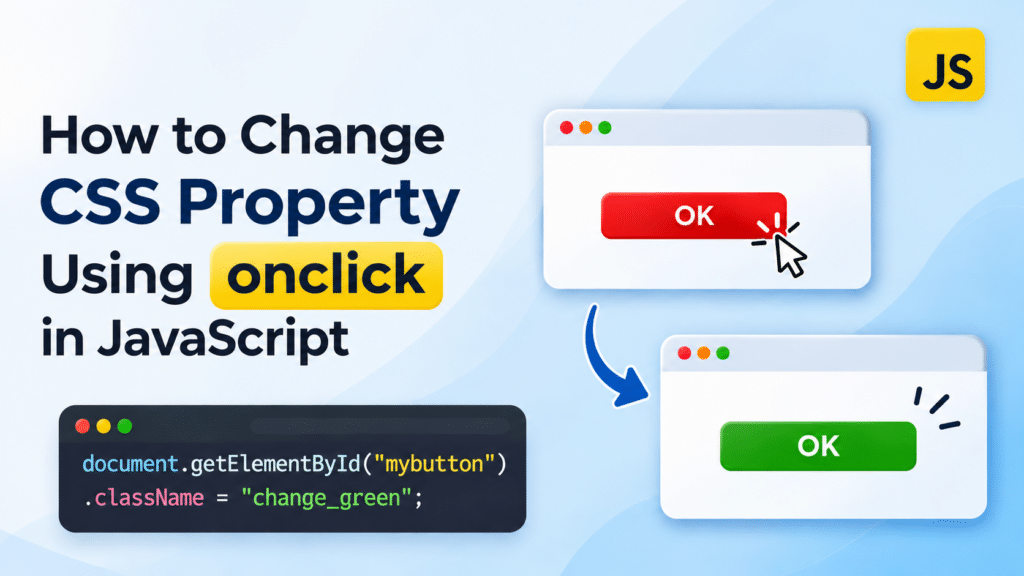
Change CSS Property Using onclick in JavaScript to dynamically modify HTML element styles, button colors, and CSS classes based on user interactions.
JavaScript allows developers to change the appearance and behavior of HTML elements dynamically. One common example is changing an element’s CSS properties when a user clicks a button.
The onclick event in JavaScript executes a function when an element is clicked. By combining onclick with JavaScript DOM methods, you can change an element’s background color, text color, font size, dimensions, and other CSS properties.
In this tutorial, we will learn how to change CSS properties using the onclick event. We will also see how to apply CSS classes dynamically using JavaScript.
What Is the onclick Event in JavaScript?
The onclick event is a JavaScript event that occurs when a user clicks an HTML element, such as a button, link, or image.
You can use the onclick attribute to call a JavaScript function when the click event occurs.
Syntax:
<element onclick="functionName()">Click Me</element>
When the user clicks the element, the specified JavaScript function is executed.
How to Change CSS Properties Using onclick
Let’s create a simple example in which a button changes its background color from red to green when clicked.
Step 1: Create the HTML Structure
First, create an HTML button and assign it an ID. We will use this ID to access the button through JavaScript.
<!DOCTYPE html>
<html>
<head>
    <title>Change CSS Property Using onclick</title>
</head>
<body>

    <h2>Change CSS Property Using JavaScript</h2>

    <button id="mybutton" onclick="myFunction()">
        OK
    </button>

</body>
</html>
In this example:
- The
<button>element creates a clickable button. - The
id="mybutton"attribute identifies the button. - The
onclick="myFunction()"attribute calls the JavaScript function when the button is clicked.
Step 2: Define CSS Classes
Now, create two CSS classes to define the button’s appearance.
The first class, .change_red, displays the button with a red background. The second class, .change_green, displays it with a green background.
.change_red {
    font-size: 20px;
    color: white;
    width: 13pc;
    height: 2pc;
    background-color: red;
    padding: 5px;
    border: 1px solid black;
    border-radius: 3px;
}

.change_green {
    font-size: 20px;
    color: white;
    width: 13pc;
    height: 2pc;
    background-color: green;
    padding: 5px;
    border: 1px solid black;
    border-radius: 3px;
}
Step 3: Add the JavaScript Function
Use the document.getElementById() method to access the button and change its CSS class.
function myFunction() {
    document.getElementById("mybutton").className = "change_green";
}
Here is how the code works:
document.getElementById("mybutton")selects the button using its ID..classNameaccesses the element’s CSS class."change_green"replaces the existing class with the new class.
When the user clicks the button, its background changes from red to green.
Step 4: Complete HTML, CSS, and JavaScript Code
The following is the complete working example:
<!DOCTYPE html>
<html>
<head>
    <title>Change CSS Property Using onclick</title>

    <style>
        .change_red {
            font-size: 20px;
            color: white;
            width: 13pc;
            height: 2pc;
            background-color: red;
            padding: 5px;
            border: 1px solid black;
            border-radius: 3px;
        }

        .change_green {
            font-size: 20px;
            color: white;
            width: 13pc;
            height: 2pc;
            background-color: green;
            padding: 5px;
            border: 1px solid black;
            border-radius: 3px;
        }
    </style>
</head>

<body>

    <center>
        <h2>JavaScript CSS Property Example</h2>

        <button
            class="change_red"
            onclick="myFunction()"
            id="mybutton">
            OK
        </button>
    </center>

    <script>
        function myFunction() {
            document.getElementById("mybutton").className = "change_green";
        }
    </script>

</body>
</html>
Output:
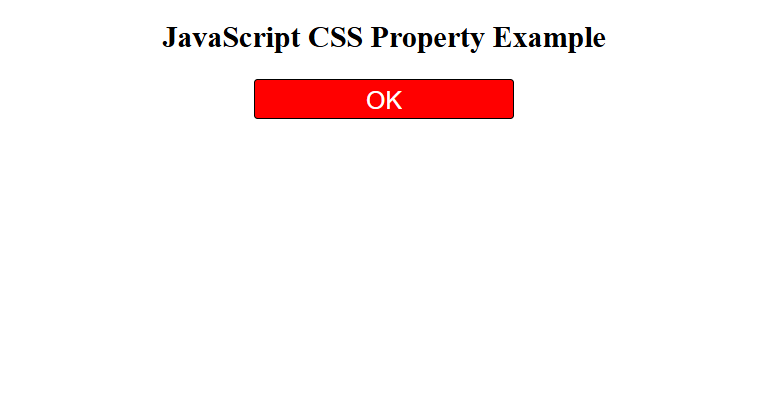
Before clicking the OK button, the button appears with a red background.
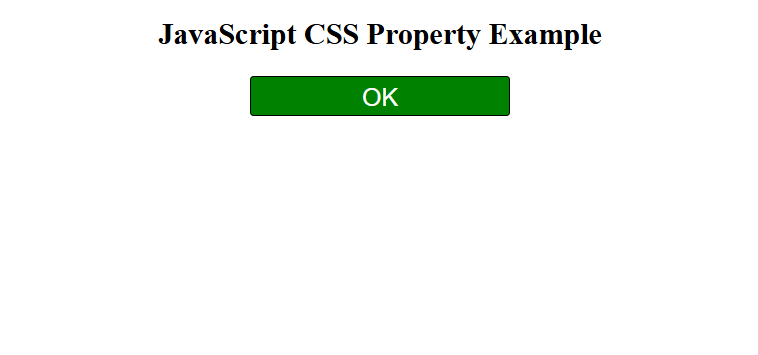
After clicking the OK button, the JavaScript function executes and changes the button’s background to green.
Alternative Method: Change CSS Properties Directly Using onclick
You can also change individual CSS properties without creating separate CSS classes. JavaScript provides the style property to modify an element’s inline CSS.
For example:
<!DOCTYPE html>
<html>
<head>
    <title>Change CSS Style Using onclick</title>
</head>

<body>

    <button id="mybutton" onclick="changeColor()">
        Change Color
    </button>

    <script>
        function changeColor() {
            const button = document.getElementById("mybutton");

            button.style.backgroundColor = "green";
            button.style.color = "white";
            button.style.fontSize = "20px";
            button.style.padding = "10px";
        }
    </script>

</body>
</html>
In this example, the style property changes individual CSS properties when the button is clicked.
You can use this approach when you only need to modify a few styles dynamically.


Using classList to Change CSS Classes
Another way to change an element’s CSS class is by using the JavaScript classList property.
The classList.add() method adds a CSS class without replacing the element’s existing classes.
<!DOCTYPE html>
<html>
<head>
    <title>Change CSS Class Using classList</title>

    <style>
        .change_red {
            background-color: red;
            color: white;
            padding: 10px 20px;
        }

        .change_green {
            background-color: green;
            color: white;
            padding: 10px 20px;
        }
    </style>
</head>

<body>

    <button id="mybutton" class="change_red" onclick="myFunction()">
        OK
    </button>

    <script>
        function myFunction() {
            const button = document.getElementById("mybutton");

            button.classList.remove("change_red");
            button.classList.add("change_green");
        }
    </script>

</body>
</html>
Here:
classList.remove("change_red")removes the existing red class.classList.add("change_green")applies the green class.
Unlike assigning a new value to className, classList lets you add and remove individual classes while preserving other classes on the element.
Output:


Conclusion
JavaScript makes it easy to change CSS properties dynamically based on user interactions. By using the onclick event with DOM methods such as getElementById(), developers can update an element’s styles or CSS classes when a user clicks a button.
You can use the style property to modify individual CSS properties, className to replace an element’s class, or classList to add and remove specific classes.
These techniques are useful for creating interactive buttons, dynamic forms, menus, and other user-friendly web interfaces.
FAQ
1. How can I change a CSS property when a button is clicked in JavaScript?
You can use the onclick event to call a JavaScript function and update the element’s style property.
document.getElementById("mybutton").style.backgroundColor = "green";
2. How do I change a CSS class using onclick?
Use getElementById() to select the HTML element and update its class using className or classList.
document.getElementById("mybutton").classList.add("change_green");
3. Can I change multiple CSS properties using onclick?
Yes. You can update multiple CSS properties inside a single JavaScript function using the style property.
Related Articles
Official Articles
- MDN – Element: click event
- MDN – HTMLElement: style property
- MDN – Element: classList property
- MDN – EventTarget: addEventListener()
Talk to Our Experts
Looking for reliable web development and JavaScript solutions?
Pheonix Solutions provides web development services, frontend development, and custom application solutions to help businesses build interactive and user-friendly websites.
Our team can help you develop responsive web applications, implement dynamic user interfaces, and create efficient digital solutions.
Contact our experts to discuss your project requirements.