
Post Date: June 28, 2019
Last Updated: October 28, 2026
Introduction
Vulnerability scanning is an essential part of maintaining a secure IT infrastructure. Servers, network devices, and applications can contain security weaknesses that attackers may exploit if they remain undetected.
Nessus, developed by Tenable, is a widely used vulnerability assessment tool that helps administrators identify security vulnerabilities, misconfigurations, outdated software, and other potential risks across their infrastructure.
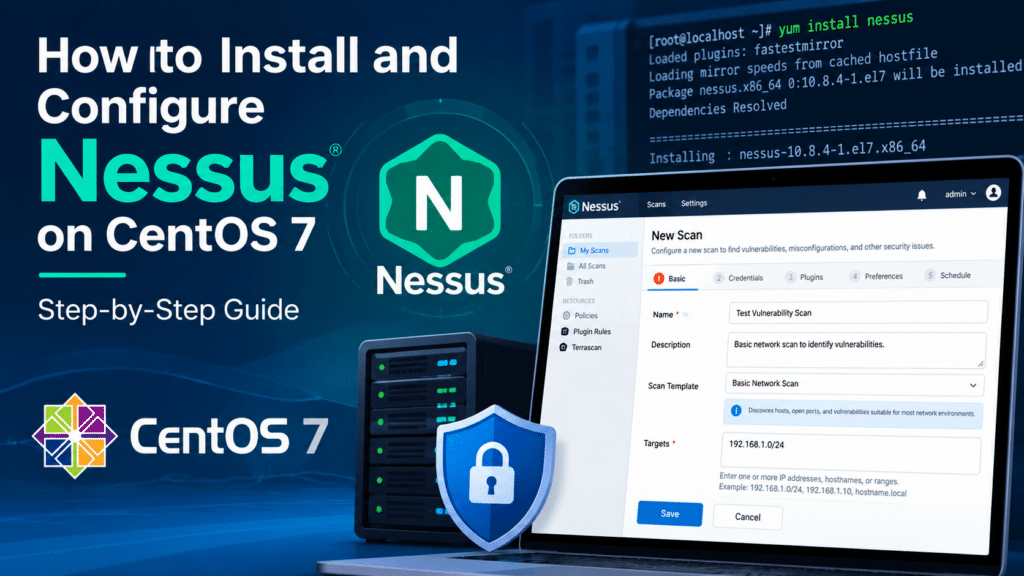
In this tutorial, we explain how to install and configure Nessus on CentOS 7, enable the Nessus service, configure the firewall, access the web interface, activate the scanner, and perform your first vulnerability scan.
This guide is intended for Linux administrators, cybersecurity professionals, and users working with legacy CentOS 7 environments.
Important security note: CentOS 7 reached end of life on June 30, 2024. For new installations, use a supported operating system compatible with your selected Nessus release. The commands below are intended for compatible legacy environments, and the availability of a suitable Nessus package must be verified before installation.
What Is Nessus?
Nessus is a vulnerability assessment scanner that helps security teams discover and assess weaknesses in systems and networks.
Common use cases include:
- Identifying missing security patches.
- Detecting vulnerable software versions.
- Finding insecure network services and open ports.
- Reviewing common system misconfigurations.
- Assessing servers and network devices.
- Generating vulnerability reports for remediation.
Nessus provides different licensing options depending on whether the scanner is used for personal learning, professional security assessments, or enterprise environments. Check Tenable’s official website for the current product and licensing options.
Official website: https://www.tenable.com/products/nessus
Prerequisites
Before installing Nessus, ensure that you have:
- A CentOS 7 system with administrative or root access.
- A compatible Nessus RPM package downloaded from Tenable.
- An internet connection for activation and plugin updates, if required.
- Sufficient disk space and memory for the scanner and its vulnerability plugins.
- Access to the server’s terminal.
- A web browser for accessing the Nessus interface.
- Authorization to scan the target systems and networks.
For security, take a backup or snapshot of important systems before making significant configuration changes.
Step 1: Download Nessus
Open the official Tenable Downloads page:
Select the appropriate Linux RPM package for your operating system and architecture. Confirm that the selected release supports your environment.
After downloading, transfer the RPM file to your CentOS server if necessary.
For example, if the package is located in /root/downloads, navigate to that directory:
cd /root/downloads
List the downloaded files:
ls -lh Nessus*.rpm
The package filename includes the product version and operating-system information. Use the actual filename supplied by Tenable rather than assuming a particular version.
Step 2: Install Nessus
Install the downloaded RPM package using root privileges.
rpm -ivh Nessus-<version>-el7.x86_64.rpm
Replace the example filename with the exact package name you downloaded.
Alternatively, on a compatible CentOS 7 system, you can use:
yum localinstall ./Nessus-<version>-el7.x86_64.rpm
The installation process places the Nessus application files on the system and registers its service.
Note: Do not use an arbitrary newer RPM on CentOS 7. Verify the operating-system compatibility and package requirements in Tenable’s documentation before proceeding.
Step 3: Start the Nessus Service
After the installation completes, start the Nessus daemon:
systemctl start nessusd
Check whether the service is running:
systemctl status nessusd
If the installation and service startup are successful, the service should report an active state.
To start Nessus automatically after a system reboot, run:
systemctl enable nessusd
You can verify that the service is enabled with:
systemctl is-enabled nessusd
Step 4: Configure the Firewall
Nessus uses TCP port 8834 by default for its web interface.
If firewalld is enabled and remote browser access is required, allow the port:
firewall-cmd --permanent --add-port=8834/tcp
Reload the firewall configuration:
firewall-cmd --reload
Verify the rule:
firewall-cmd --list-ports
You should see 8834/tcp in the output if the port has been added to the active firewall configuration.
Security recommendation: Do not expose the Nessus administration interface directly to the public internet. Restrict access to a trusted management network, VPN, or approved administrator IP addresses. Also check any cloud firewall or network ACL in front of the server.
Step 5: Access the Nessus Web Interface
Open a browser on a computer that can reach the Nessus server.
Enter the following URL:
https://<server-ip-address>:8834
For example:
https://192.168.1.100:8834
Replace the example address with your server’s actual IP address.
Because Nessus uses HTTPS, the browser may display a certificate warning during initial setup if a certificate is not trusted by your computer. Verify that you are connecting to your own server before proceeding.
If the interface does not load, confirm that the service is running, TCP port 8834 is reachable, and the server’s network and firewall settings permit the connection.
Step 6: Create a Nessus Administrator Account
When you access Nessus for the first time, follow the on-screen setup wizard.
Depending on the selected product and release, you may be asked to:
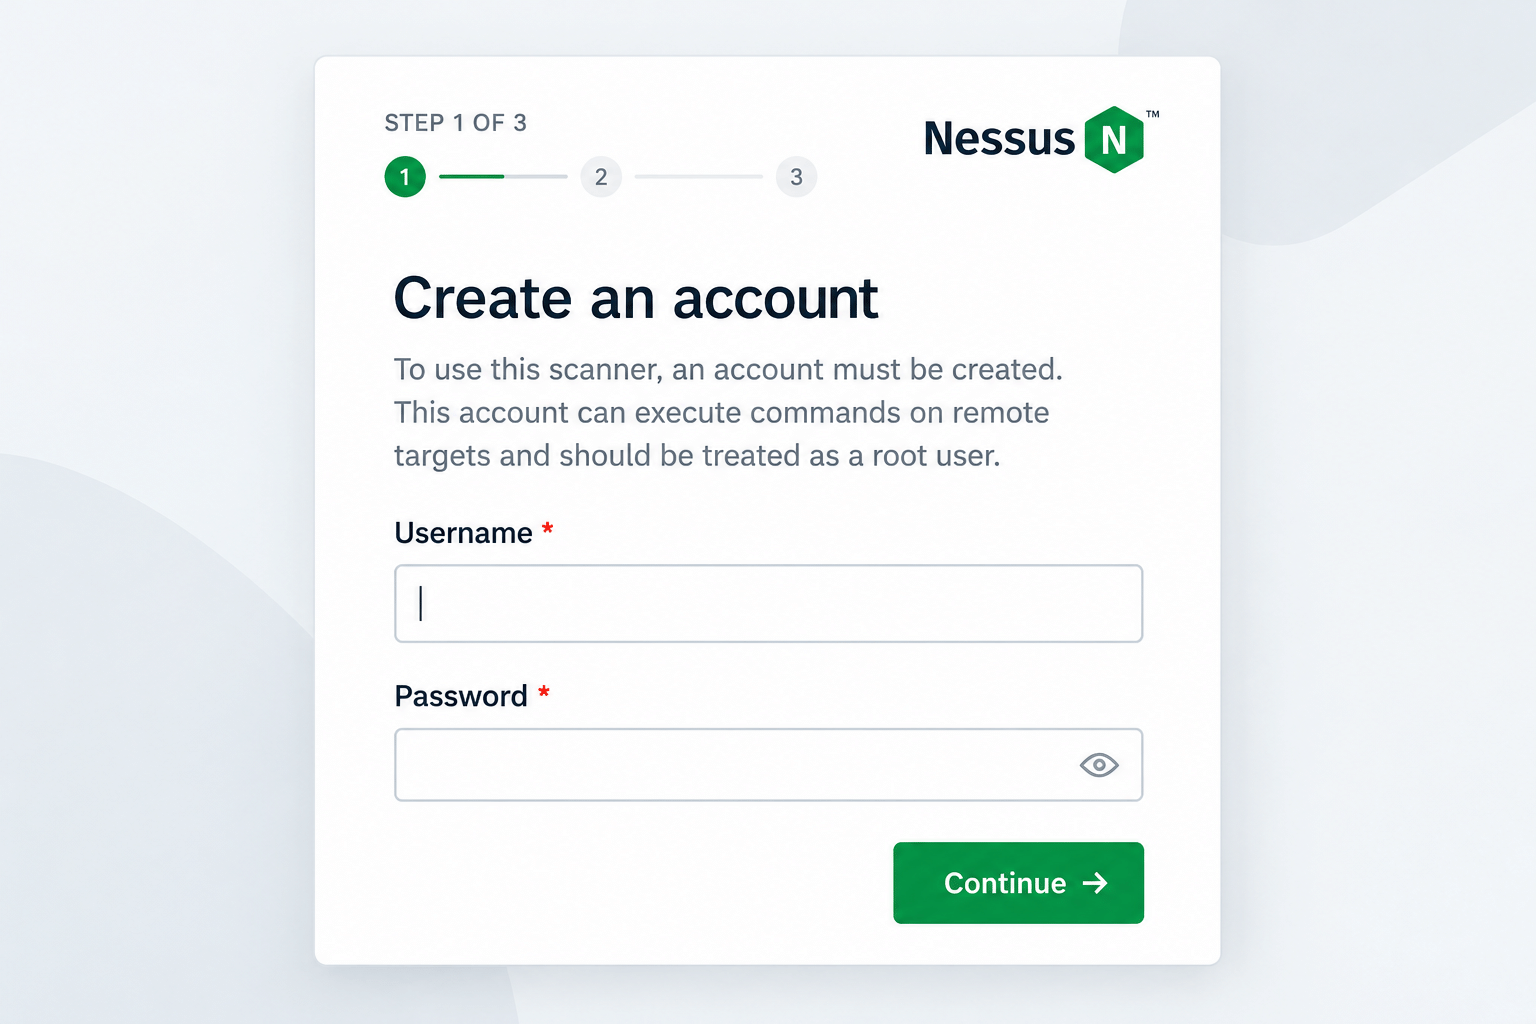
- Select the appropriate Nessus product or license option.
- Create an administrator account.
- Enter the required registration or activation information.
- Complete the initial configuration.
Choose a strong, unique password and store it securely.
Screenshot suggestion: Add a screenshot of the Nessus account creation page here.
Suggested image caption: Creating an administrator account during Nessus setup.
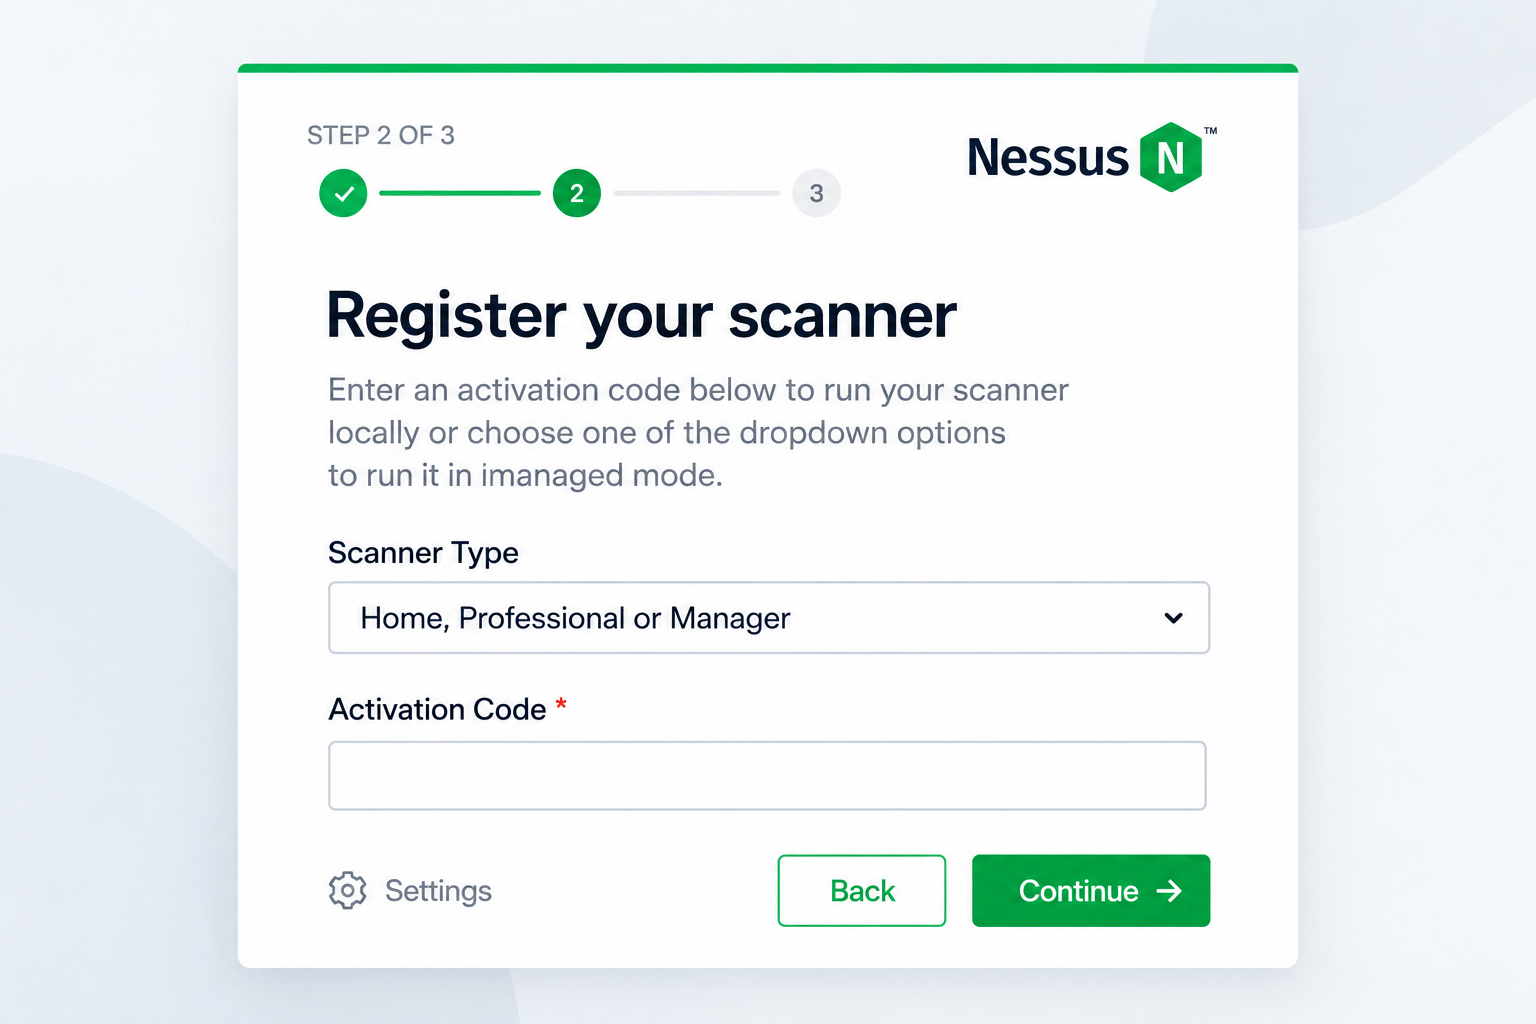
Step 7: Register and Activate Nessus
Follow the activation instructions shown in the Nessus setup wizard.
If your selected license requires an activation code, obtain it through the applicable Tenable registration process and enter it in the interface.
For product and licensing information, visit:
Do not assume that an older Nessus Home license, its eligibility requirements, or its historical IP-address limit still applies. Review the current licensing terms before activating the scanner.
Screenshot suggestion: Add a screenshot of the license registration page here.
Suggested image caption: Registering the Nessus scanner with the appropriate license.
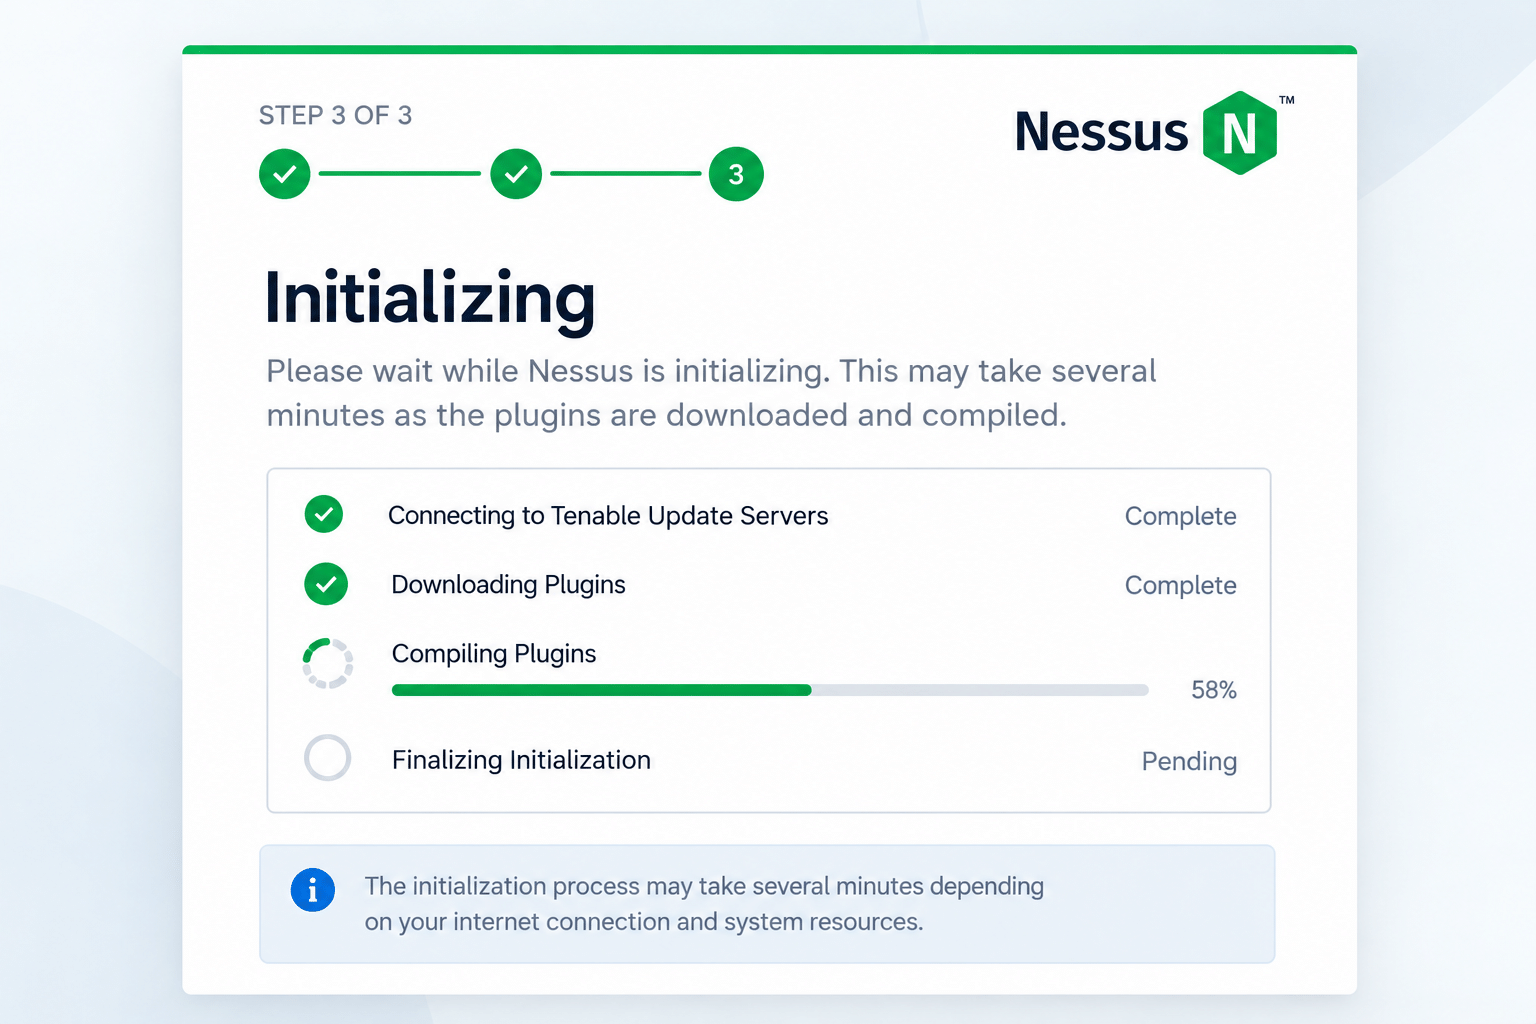
Step 8: Wait for Initialization and Plugin Compilation
After registration, Nessus may download vulnerability plugins, update its components, and initialize the scanning engine.
This process can take several minutes or longer depending on the server’s resources, network connectivity, and the size of the plugin updates.
During initialization:
- Keep the Nessus service running.
- Ensure required outbound connections are available.
- Avoid restarting the server unnecessarily.
- Wait for the interface to indicate that the scanner is ready.
If initialization appears stuck, review the service logs and confirm that DNS resolution and outbound HTTPS connectivity are working.
Screenshot suggestion: Add a screenshot of the initialization or plugin compilation screen here.
Suggested image caption: Nessus initializing its vulnerability plugins.
Step 9: Create Your First Vulnerability Scan
Once Nessus is ready, sign in to the web interface.
The exact menu names may vary between releases, but the general workflow is:
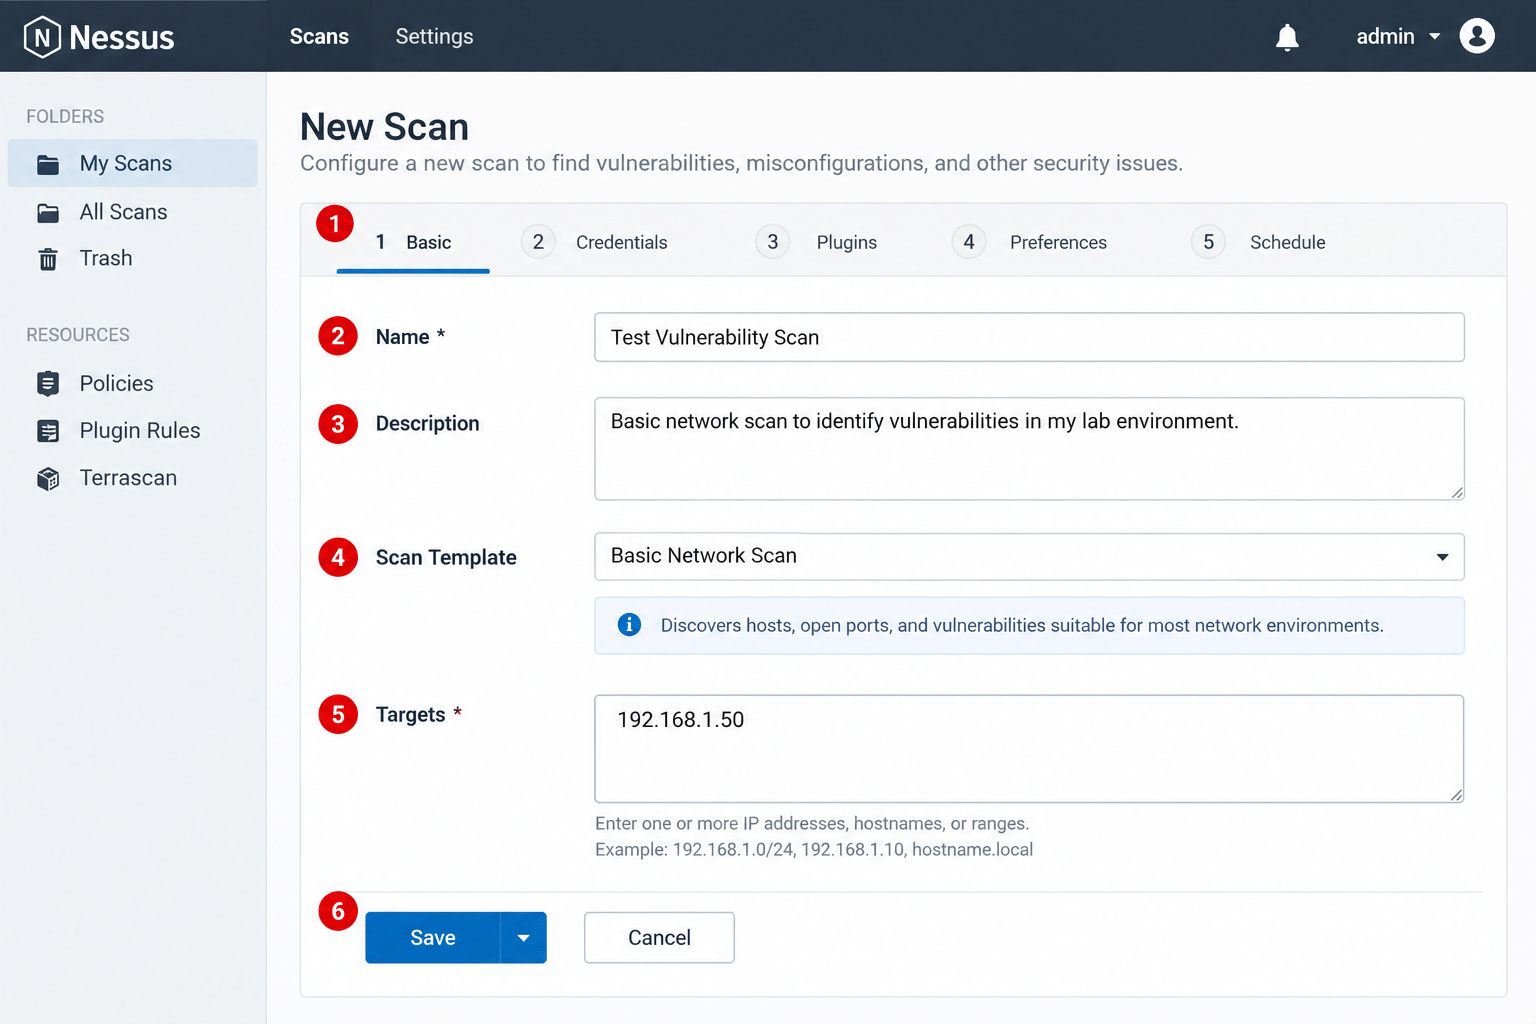
- Open the scanning section.
- Create a new scan.
- Select an appropriate scan template, such as a basic network scan.
- Enter the IP address or hostname of an authorized target.
- Review the scan settings.
- Save and launch the scan.
For example, a lab target might be:
192.168.1.50
Use the actual IP address of a system you own or are explicitly authorized to assess.
Start with a limited test against a single lab system. Some vulnerability checks can generate significant traffic or affect fragile services, so select scan settings appropriate to the target.
Screenshot suggestion: Add a screenshot of the scan configuration page here.
Suggested image caption: Configuring a vulnerability scan in Nessus.
Step 10: Review the Vulnerability Scan Results
After the scan finishes, open the scan results and review the detected findings.
Nessus commonly categorizes vulnerabilities by severity, such as Critical, High, Medium, Low, and Informational. The available classifications and scoring details depend on the findings and product version.
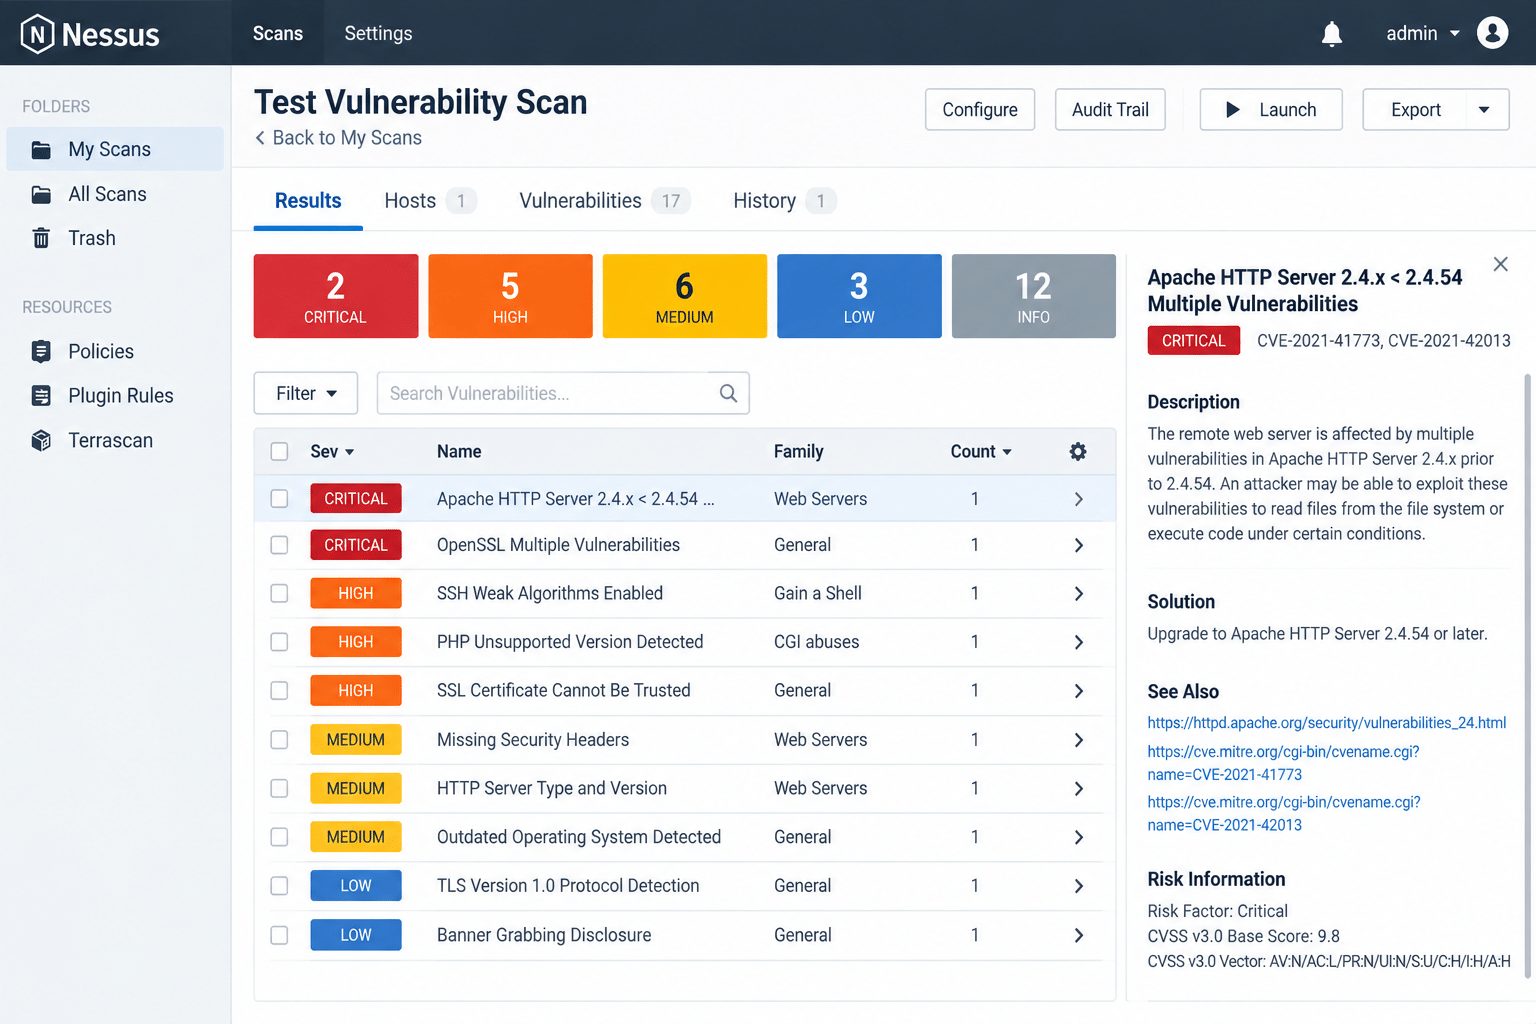
For each finding, review:
- The affected host and service.
- The vulnerability description.
- The associated CVE, when applicable.
- The severity and supporting evidence.
- The recommended remediation.
- Whether the finding can be reproduced or requires further validation.
Do not assume every finding represents an exploitable vulnerability. Review the evidence, confirm the affected software and configuration, and validate important findings before making changes.
Prioritize remediation based on severity, exposure, business impact, and available fixes. After applying changes, perform another scan to verify whether the vulnerability has been resolved.
Troubleshooting Common Installation Issues
1. Nessus service fails to start
Check the service status:
systemctl status nessusd
Review recent service logs:
journalctl -u nessusd -n 100 --no-pager
Confirm that the downloaded package is compatible with your operating system and that the server has sufficient resources.
2. The web interface is not accessible
Check whether Nessus is listening on port 8834:
ss -lntp | grep 8834
If ss is unavailable, try:
netstat -lntp | grep 8834
Also verify the firewall configuration and the server’s network connectivity.
3. The firewall blocks access
Check the firewall rules:
firewall-cmd --list-all
If remote access is required, add the TCP 8834 rule as described in Step 4. Check upstream firewalls and cloud security groups as well.
4. Nessus is stuck during initialization
Check the service logs:
journalctl -u nessusd -f
Confirm that DNS resolution, outbound HTTPS connectivity, licensing, and plugin updates are working correctly. Allow additional time if the initial plugin compilation is still in progress.
5. The activation or registration process fails
Verify that the license is valid for the selected Nessus product and that the system can reach the required Tenable services.
If the problem continues, consult Tenable’s official support documentation rather than attempting to bypass the licensing process.
Security Best Practices
After installation, follow these recommendations:
- Restrict administrative access to trusted users and networks.
- Use strong credentials and protect the administrator account.
- Keep Nessus and its vulnerability plugins updated.
- Use a supported operating system for production deployments.
- Scan only systems for which you have explicit authorization.
- Protect scan results because they may contain sensitive infrastructure information.
- Back up relevant configuration and follow your organization’s recovery procedures.
- Validate findings before applying remediation changes.
- Avoid exposing TCP 8834 directly to the public internet.
Conclusion
Nessus is a useful tool for identifying vulnerabilities and improving the security posture of servers and networks. By installing the appropriate RPM package, starting the nessusd service, configuring TCP port 8834, completing the initial setup, and running an authorized scan, administrators can begin assessing their infrastructure for potential security weaknesses.
For existing CentOS 7 environments, verify compatibility with the selected Nessus release before installation. Since CentOS 7 is no longer supported, migrating to a supported operating system should be part of the long-term security plan.
Regular vulnerability scans, timely patching, secure configuration, and verification of remediation results help maintain a stronger security posture.
Frequently Asked Questions (FAQs)
1. What is Nessus used for?
Nessus is a vulnerability assessment tool used to identify security weaknesses, missing patches, vulnerable software, and misconfigurations in systems and networks.
2. Can Nessus be installed on CentOS 7?
CentOS 7 can be used with compatible legacy Nessus packages, but compatibility depends on the specific Nessus release. CentOS 7 is end-of-life, so a supported operating system is recommended for new deployments.
3. What is the default port for Nessus?
The default web interface port is TCP 8834. Access it through https://<server-ip-address>:8834.
Related Articles
Install Nginx, PHP-fpm, Mariadb on Centos 7
Need Help Installing and Configuring Nessus on CentOS 7?
Need assistance with Nessus installation, scanner activation, plugin initialization, or vulnerability scanning? Our experts can help with Nessus configuration, Linux server administration, vulnerability assessment, security troubleshooting, and server maintenance.
Get in touch with our team here.